Proper clutch adjustment or clutch lever free play adjustment is crucial for smooth riding, safety, and the longevity of your motorcycle’s transmission. Properly adjusted clutch ensures smooth gear shifts, prevents clutch slippage, extends clutch life, and improves rider comfort and control.
- If the clutch is too tight (too much free play), the plates may not fully engage, causing slippage results in reduced power delivery to the rear wheel, excessive heat buildup leading to premature wear, and poor acceleration and fuel efficiency.
- If the clutch is too loose (too little free play), it may not disengage fully when you pull the lever. This can cause hard gear shifts and clunky engagement, bike creeping forward at stops and increased wear on the transmission.
With all that in mind, it’s important to check and adjust clutch-cable slack periodically, as it will generally increase due to wear or perhaps decrease if the clutch plates have temporarily expanded due to especially hard use.
How to Adjust Motorcycle Clutch
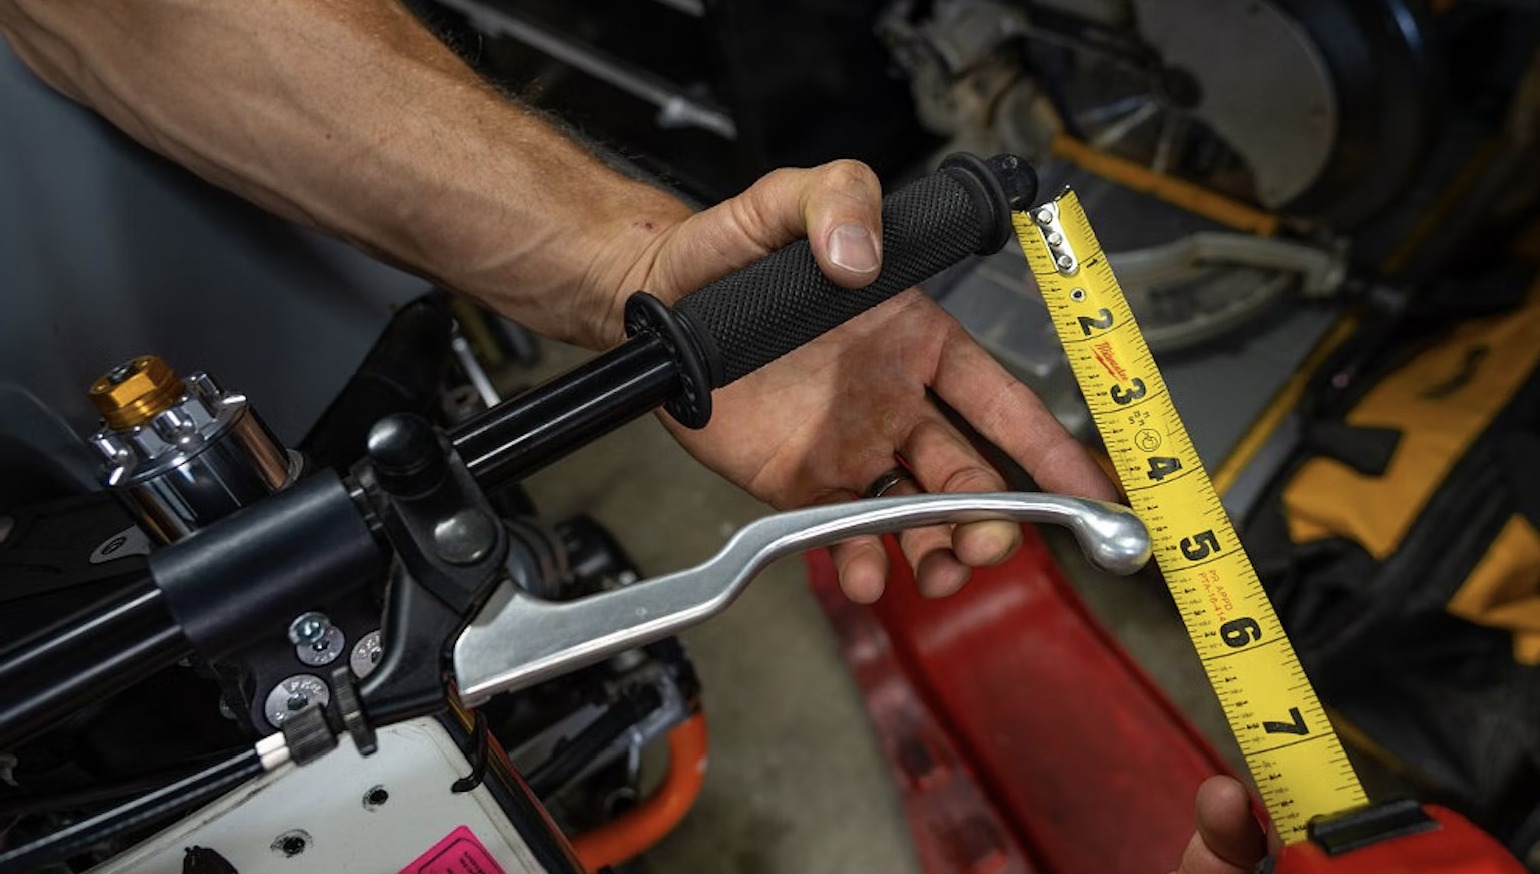
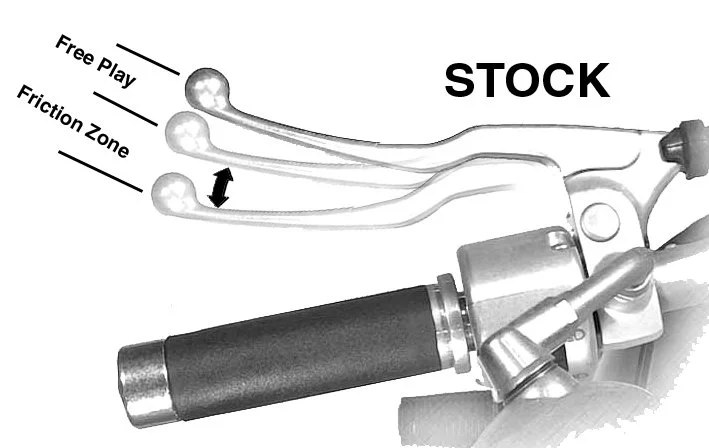
Many owner’s manuals list a free play spec as measured from the end of the clutch lever to the grip, and it’s typically between 10 and 20 millimeters. However, if you’ve installed aftermarket levers of a different length, broken off the ball end, or otherwise “modified” the lever through due to small crash, this method may not be accurate.
Instead, measure the gap between the back of the lever and the perch, which will be consistent regardless of the lever length or style and should typically be between two and four millimeters. Of course, you can use a tape measure or ruler, but it just so happens that a currency coin is about two mm thick, so if you set the clearance using one or two of those, you’ll be good.
Method 1:
If the clutch lever slack needs adjustment, loosen the locknut and turn the adjuster inward to increase slack or outward to reduce it. When tightening the locknut back down, ensure that its groove and the adjuster’s groove are not aligned – this prevents the cable from accidentally slipping out. If possible, position the groove facing the rear of the bike to help keep water and dirt from getting inside.
Method 2:
If you can’t achieve the correct slack using the barrel adjuster at the lever or if it’s fully maxed out, you’ll need to adjust the secondary adjuster at the other end of the cable. This adjuster is designed for larger adjustments, so before loosening the locknuts, first turn the lever adjuster most of the way in to allow for finer adjustments later.